

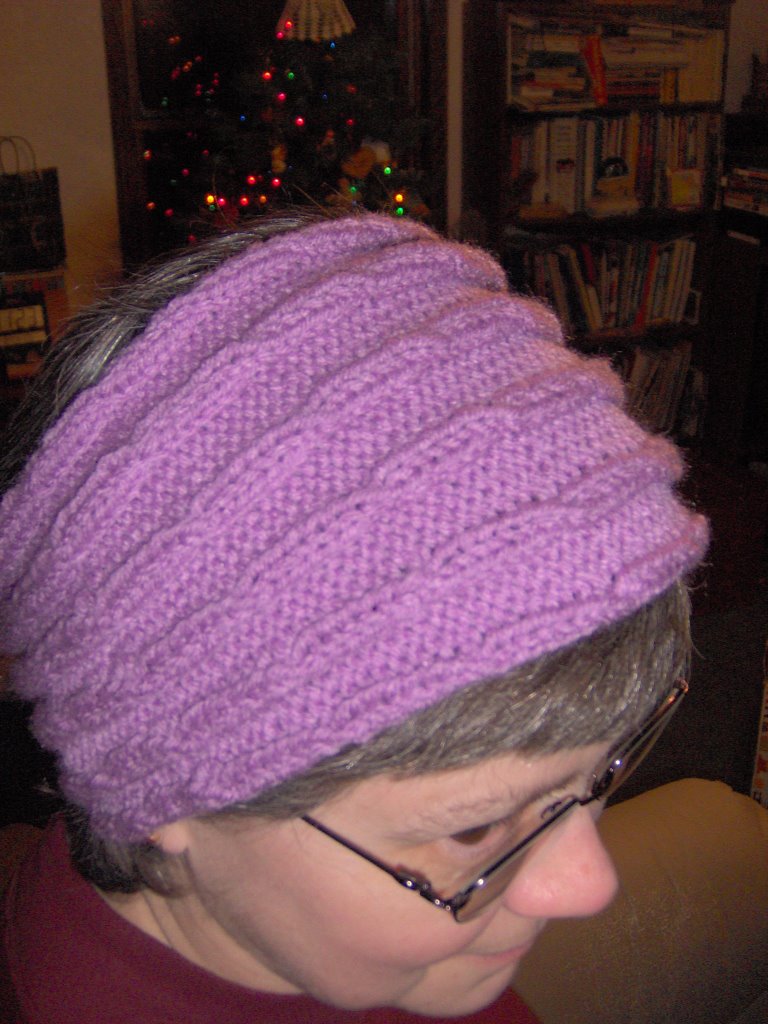
Cabled Panta
There are 2 free patterns for this Panta that I have seen. One is on Craftster and the other one is from Drops Design. Of course I couldn't leave it at that so mine has several differences yet is sort of similar too.
I used a Red Heart acrylic yarn and size 7 needles. This makes a 20 inch headband that is about 6 inches wide. Adjust if necessary but remember that it will stretch and it is good to have it a little bit smaller than your head circumference.
The edge stitch will be kept in garter stitch throughout.
RIGHT TWIST--Abbreviated RT (uses 2 stitches)
k2 tog making sure NOT to drop stitches off, then placing the RH needle between the two stitches, knit the first stitch letting both stitches drop off the needle.
Cast on 19 stitches.
Section 1:
Row 1: k1, (p2, k2) 6 times, wrong side
Row 2: k1, (k2, p1) 5 times, end k3 = 19 stitches, right side
Repeat rows 1 and 2 until this section is 2 inches, end on a row 2
Section 2:
Row !: k1, (p2, k1, inc1 by knitting into the front and back of next
stitch) 5 times, end p2, k1 = 24 stitches
Row 2: k1, (RT, p2) 5 times, end RT, k1
Row 3: k1, (p2, k2) 5 times, end p2, k1
Row 4: k1, (k2, p2) 5 times, end k3
Repeat rows 3 & 4 until this section is 2 inches(total of 4 inches
from cast on). Substitute row 2 for row 4 every 8 rows or more often
if you want the cables to be closer together.
Section 3: Working the same way increase in each knit section on the
wrong side and keep the Right Twist going on the right side.
Row 1: k1, (p2, k2, increase 1) 5 times, p2, k1 = 29 stitches
Make this section 2 inches also.
Section 4:
Row 1:k1, (p2, k3, inc1) 5 times, p2, k1 = 34 stitches
This section needs to be about 8 inches and now you will decrease at
the places you increased before.
Section 5:
Row 1:k1, (p2, k2, k2tog), 5 times, p2, k1
Continue ribbing pattern on wrong side and cables on the right side
for 2 inches.
Section 6:
Row 1: k1, (p2, k1, k2tog) 5 times, p2, k1
Continue ribbing, ending cable pattern in this section. Section
should be 2 inches.
Section 7:
Row 1: k1, (p2, k2tog) 5 times, p2, k1
knit for 2 inches-try around head if you can and knit more or less to
fit. Bind off and sew together or knit together.
A PDF version of this pattern is available at my web site.
posted by Denise | 9:41 PM
![]()
![]()
1 Comments:
Merry Christmas to you and yours!!
Post a Comment
<< Home